Your dust collector is only as good as its filters. If you care about product quality, employee exposure, and plant cleanliness, then you need to understand the proper maintenance and replacement frequency for your filters. Keep reading for signs your dust collector filters need to be changed, common replacement mistakes, and tips on improving filter life.
Ready to buy?
How Long Do Dust Collector Filters Last?
Unfortunately, there isn’t a quick and simple answer to this question. The life of your filters depends on several factors:
- The type of dust you are collecting
- The amount of dust your process generates (dust loading)
- The type of collector and filter media you have
Your filter usage determines how often you need to change them. This frequency could also change between seasons, as humidity and temperature can impact filter performance. But after you run your system for a year and notice patterns, you can start to build a customized dust filter change schedule for your facility.
Signs Your Filters Need to be Replaced
At the beginning of their life, filters can have an efficiency of more than 99%. Watch for these signs to know if you need a dust collector filter replacement:
- Visible dust in the air
- Visible dust on the clean air side of the system
- Visible damage on the filter (tears, holes, etc.)
- Increase in differential pressure, or DP (as seen on your pressure differential gauge)
- Decrease in airflow from the system
Do not replace your filters just because they look dirty. In fact, they are supposed to look dirty! As particles pass through, it will build up on filters and form a dust cake. This is a sign they are working and actually helps facilitate filtration.
Monitoring Filtering Conditions
You should monitor filter conditions to ensure the dust collector is working at its highest efficiency. Filter conditions are determined by differential pressure (Delta P). Delta P measures the difference in pressure between the clean and dirty side of your filters, in units of inches of water column (inWC). Typically, the scale is zero to six inches, but that may vary depending on system design.
Some states have air permits that dictate the operating range of differential pressure. But in general, here’s a good rule of thumb:
- When you hit the four-inch mark: start thinking about buying new filters
- When you hit the five-inch mark: start planning a shutdown to change them
- When you hit the six-inch mark: change the filters because they are now affecting airflow
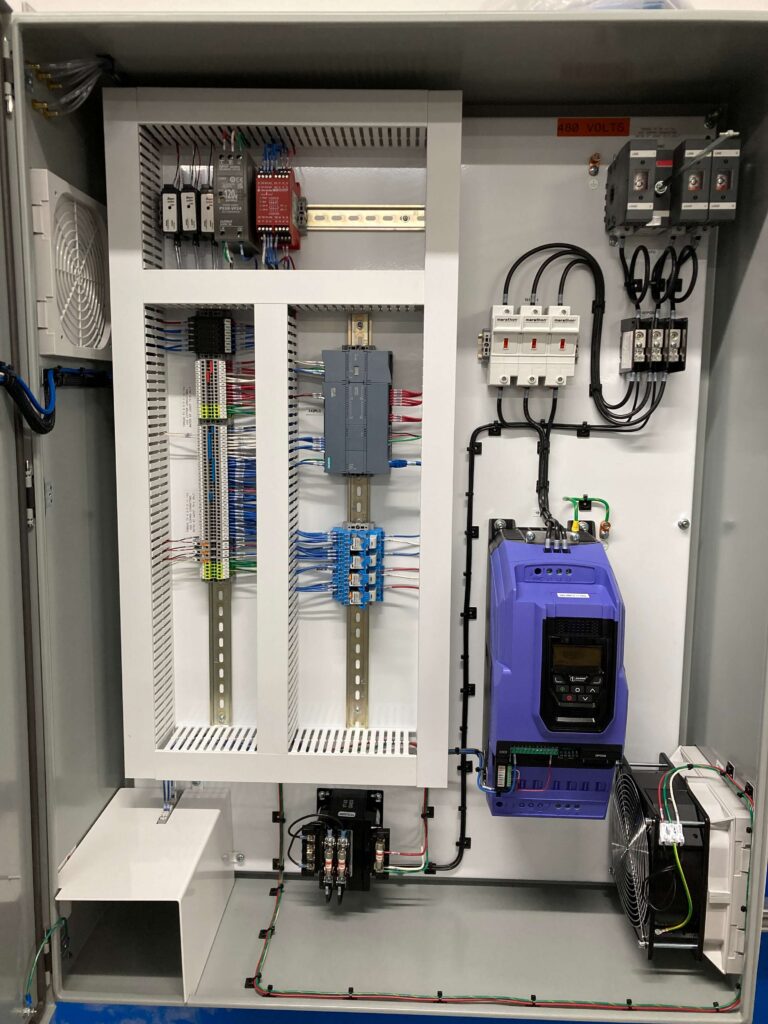
You can monitor dust collector filter performance using analog gauges (magnehelic or photohelic) or automated systems like AyrDyne electrical control panels. Changes in Delta P are signs of physical changes in the filters. A gradual increase in pressure is normal as dust builds up. But a sudden spike or drop is a sign there is an issue.
That’s where AyrDyne comes in handy. It provides a visual indication of how your system is operating, using green, yellow, and red indicators. At a glance, you know if you need to make adjustments and the status of your filter life.
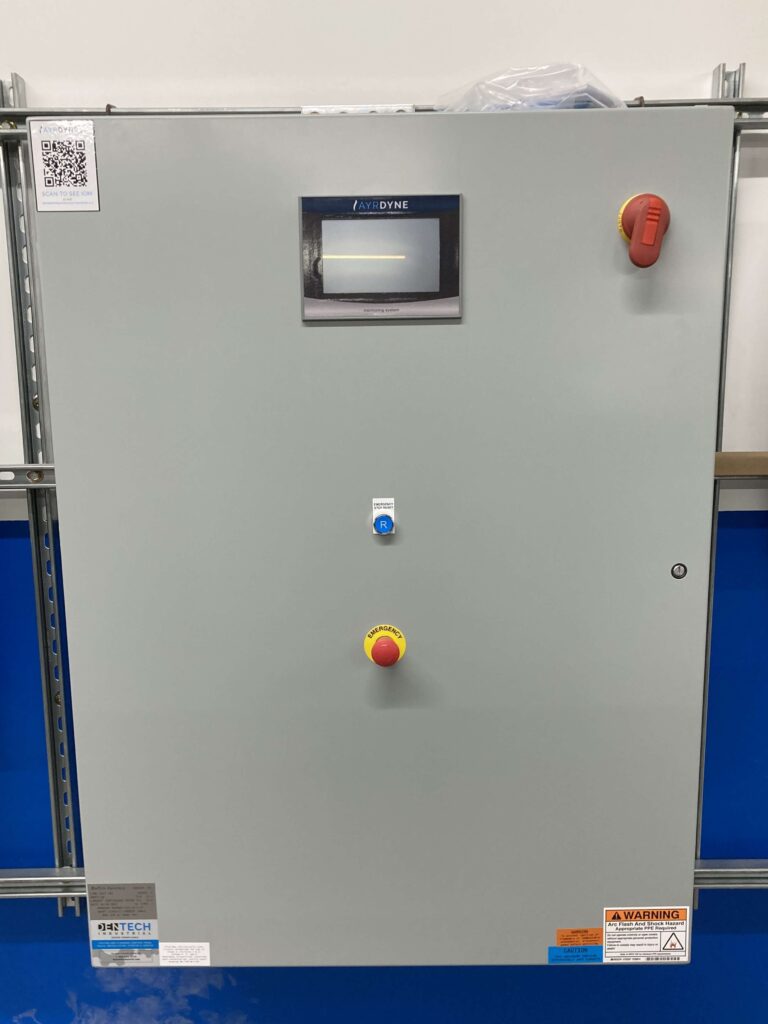
Benefits of AyrDyne
Our AyrDyne filter monitoring system consolidates all readings and simplifies where you get your data, eliminating the need for multiple gauges.
You can see if your filters spiked suddenly or if there was a gradual increase in pressure. It provides information on the condition of your collector and self-adjusts the cleaning range so you’re always operating as efficiently as possible. This reduces compressed air usage, saving you money. You can also set reminders and alarms to change your filters at a certain frequency.
Lastly, with AyrDyne filter monitoring, there is a removable memory drive that you can easily download for air permit reports.
Dust Collector Filter Replacement Tips
Changing a filter seems easy… until you do it wrong. Filters are expensive, downtime is costly, and making a mistake can have a serious impact on the output and safety of your facility.
Here are some common mistakes we see operators make when changing filters on their own:
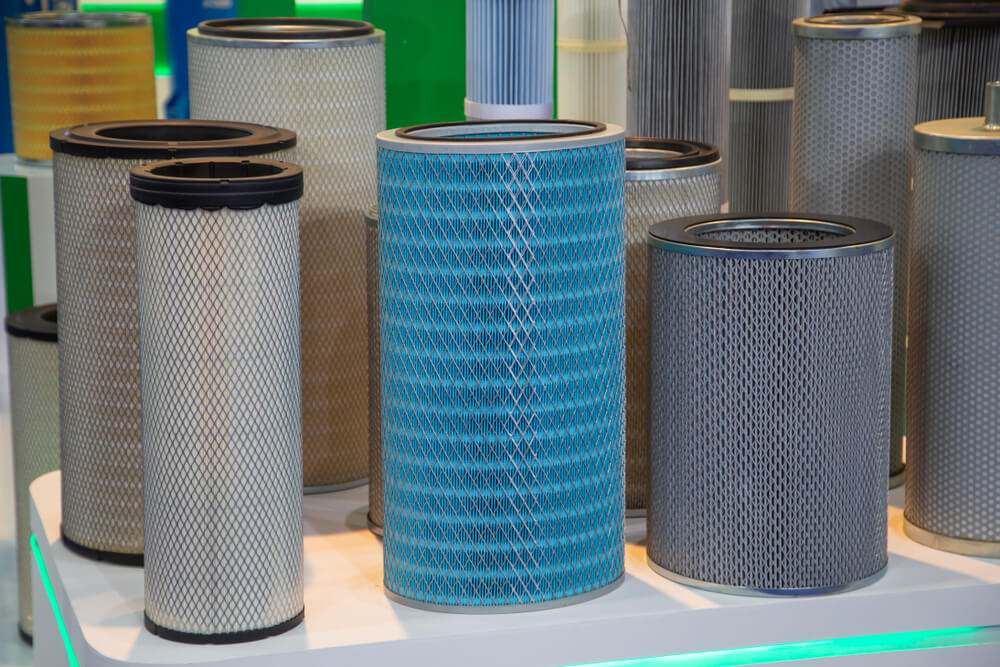
- Improper handling of new filters: New dust collector filters should be handled with care to ensure they are not damaged before installation.
- Backwards installation: There’s a specific way to install them, and many people accidentally put them in backwards. Filters will not seal properly when installed in the wrong orientation, causing air leaks and dust to bypass the filters.
- Not understanding the cleaning system: As filters get dirty, you may adjust your pulse setting range to correctly clean your filters and optimize compressed air usage. These settings need to be reset when new filters are installed to ensure proper system operation.
- Not planning for supply chain delays: Don’t wait to order replacements until you need them, as this can cause unexpected downtime if there are product shortages or slow delivery times.
Filter replacement is a tedious task. The time it takes depends on the size of your collector, but an average 16- or 24-cartridge collector takes about a day for a full change out. To make the most of your time, here are our tips for dust collector filter replacement:
- Pulse the cleaning system before removing the filters: This gets loose dust off before opening it.
- Be prepared for that initial opening of the collector: The worst part of this process is getting a dust shower as you pull used filters out over your head. Be prepared to get dirty.
- Check other parts of the collector while you’re inside: Look at all gaskets, diaphragm valves, and the condition of the collector itself, checking for rust, holes, and more.
- Replace all cartridges at once: This ensures consistent dust collector performance and maintains proper airflow.
The process itself is time-consuming. On replacement day, our team will lay down tarps, isolate the area, go through the safety checklist, remove filters and bag them to contain the dust, put new filters in, and finally seal up the old cartridges.
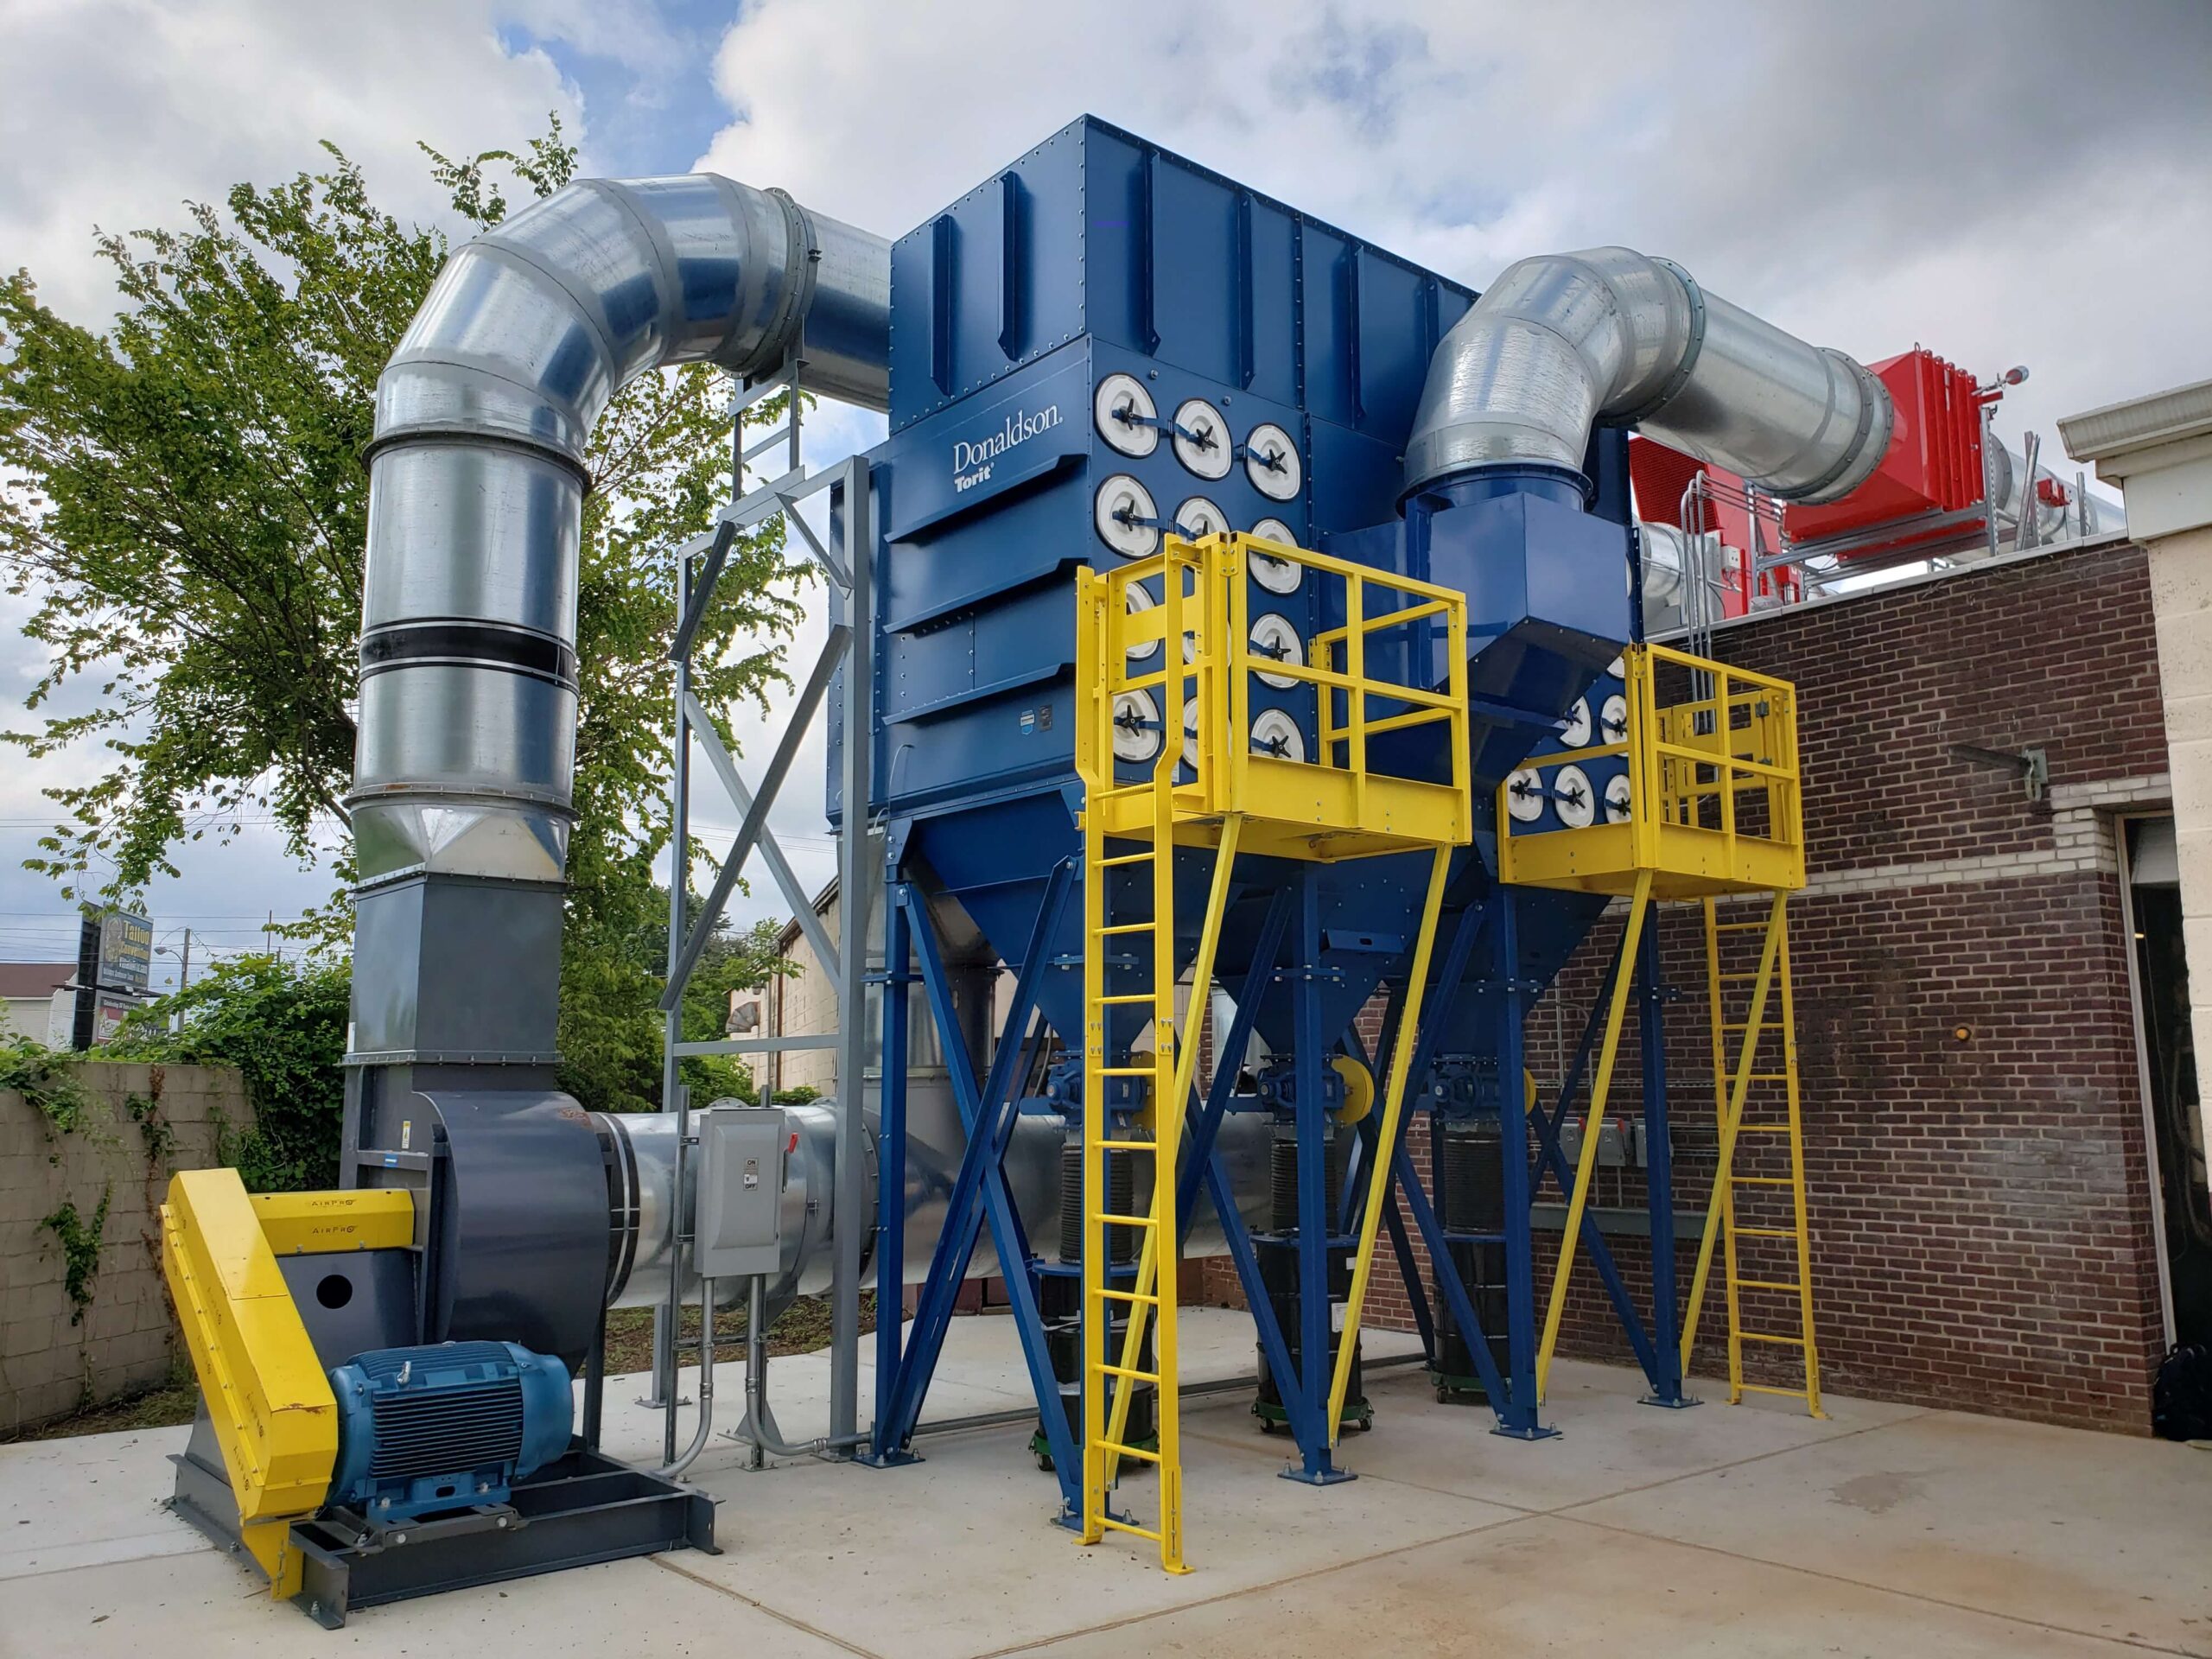
When in doubt, we recommend working with a professional team to ensure the installation is done correctly the first time. At DenTech, we can work with all makes and models of dust collectors, including popular brands like Donaldson, Farr, Imperial, RoboVent, and MAC. If you need a new collector, replacement filters, or help with maintenance, we’re the team to call.
Extending the Life of Your Dust Collector Filters
Properly maintaining your dust collector filters is crucial to managing dust efficiently. If you don’t, it will require more energy to run your equipment, your filter life will shorten, you’ll spend more money, and you’ll risk the health and safety of your employees. Here are our top four tips to improve the life of your filters.
1). Don’t Manually Clean Filters
While you may be tempted to manually clean filters to help extend their use, we don’t recommend that. It can actually end up damaging your filter. Instead, rely on the automated cleaning system in your machine for consistent dust collection performance.
Many dust collectors use a pulse-jet cleaning system. The pressure gauge sends a signal to activate the diaphragm valves, which shoot a pulse of air to knock dust cake off the filters. This pulse goes off for one millisecond every ten seconds while the cleaning system is engaged. You can set this pulse to activate at a certain pressure, and change that activation point as dust builds up.
2). Use the Correct Air Pressure
Make sure you’re using the correct compressed air pressure for cleaning (usually between 60 and 100 PSI). Too low, and it won’t clean the filter enough. Too high and your filters and diaphragms could be damaged by the air. Always follow manufacturer recommendations for compressed air settings and make sure it’s oil- and water-free. And if you have multiple pieces of equipment running at the same time, ensure your air supply system can deliver enough compressed air to meet the needs of each one.
3). Check Your Valves
If your cleaning system doesn’t work properly, the life of your dust collector filters will shorten drastically. Check your diaphragm valves yearly (and whenever you replace filters). There are features built into AyrDyne to help ensure the cleaning system is working, but the experts on our team can tell just by the sound if a collector is pulsing correctly.
4). Rely on Differential Pressure Gauges
Monitor your gauges—analog or digital—to determine if your filters are working. There’s no need to open your collector and inspect the filters unless you suspect the gauge is incorrect. Make it a habit to frequently check your differential pressure gauge to avoid overloading or over-cleaning the collector.
Need More Help? Contact DenTech
Our sales team at DenTech brings over 100 years of combined experience in dust collection and industrial solutions. We know exactly what questions to ask when we’re designing and installing a system—questions about loading, temperature, processes, and your work environment.
Plus, we are familiar with the hazards of different types of dust exposure. We work to ensure your employees have the best (and safest) work environment. But it doesn’t stop at safety.
At the end of the day, our goal is to design a system that works even better than you expect it to. To us, dust collection isn’t just a machine in the corner of the room. It impacts your entire plant, your employees health and safety, your operations, and even your bottom line. And proper air filtration starts with understanding dust collector filter replacement.